Along with the fantastic $99 Jetson Nano, Nvidia has released two DIY car kit guides to use the Nano for real-world robotics. I’ve built and got them both working, so this is a quick overview of the two and some tips and tricks. (There’s also a good hands-on of the Jetbot at ExtremeTech, which is worth reading, too)
The Jetbot is designed to use computer vision and AI to navigate small areas slowly, such as the Lego-scale roads shown here, to demonstrate basic self-driving car techniques.

The parts are available in various options:
- Order them all separately from this list (about $150)
- Kit from Adafruit ($34.95, requires a Jetson Nano, the 3D printed parts, camera, wifi, battery and a few other parts from the list above)
- From 3rd parties with everything but the Nano for $230
- Just the 3D printed parts ($35), if you don’t have your own 3D printer
- Sparkfun is also planning their own kit ($274), which looks a little too cobbled together for my taste, so that wouldn’t be my first choice
Waveshare also has its own 3rd-party variations of the Jetbot, which improves on the original with a metal chassis and integrated electronics (see below). This seem to be the best deal, at $219 INCLUDING a Jetson nano, but I haven’t tried it myself. Update: now I have and it’s terrific. Short review here, but here’s it next to my DIY version:
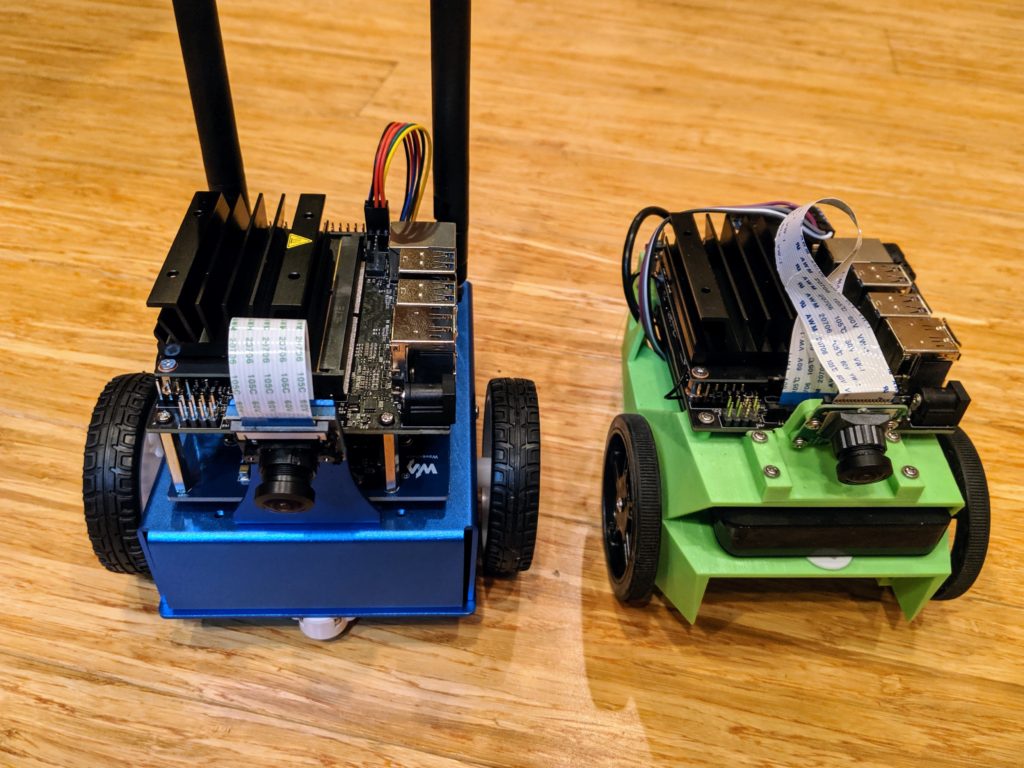
However, the Nvidia team has tried it and they like it a lot, especially with its integrated battery charging, so that seems like the best bet if you don’t want to get and make the parts yourself.
What can it do?
The basic examples are collision avoidance and object following, both of which use the Nano’s deep learning abilities and Jupyter Python interface for training well. Here’s one example of it working:
A new example, which you’ll find on the on-board Jupyter notebooks but not the wiki yet, is road following. I trained it on my patio track, which is meant for larger vehicles that can roll over the tile bumps, but despite what must have seemed like pretty rough terrain for this little bot, it made it around the track pretty well:
More to the point, this is a general purpose AI platform. Anything that can run on a Jetson can run on this (within the limits of the Nano’s processing power): TensorFlow, Keras, OpenCV, etc. It’s running a flavor of Ubuntu Linux, so DonkeyCar works, and you can even train locally (as opposed to in the cloud)! The only limits are the small and slow car…
…Enter JetRacer!
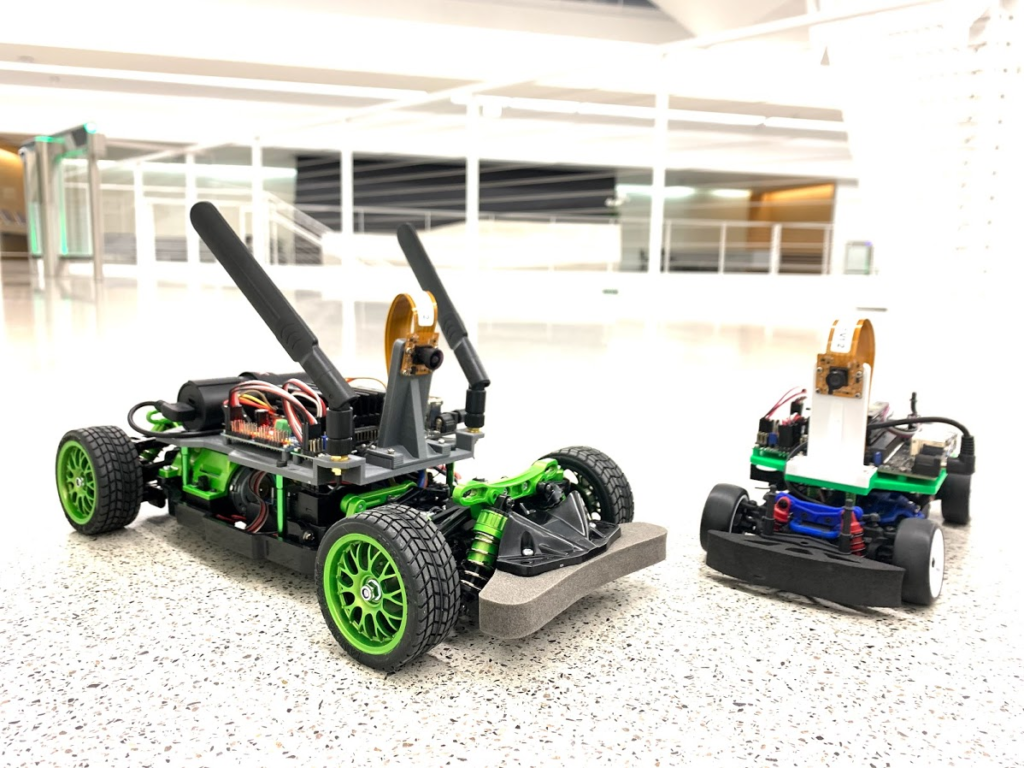
JetRacer is more than just JetBot on a faster RC chassis. The Nvidia team also increased the speed of the software processes, including increasing the camera frame rate and optimizing TensorRT to handle the speed of the vehicle.
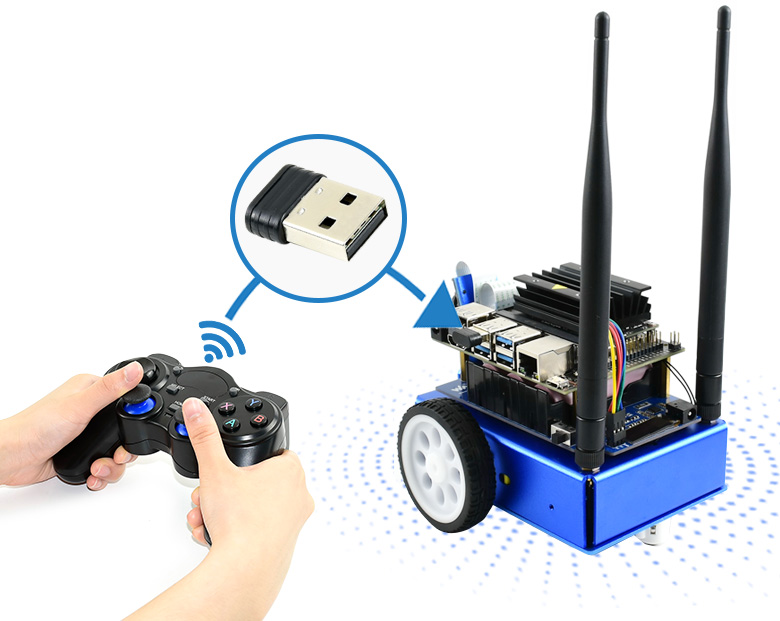
It’s also got a simplified training scheme to gather data faster. Like JetBot, it uses “supervised learning”, which is to say that you, as the human, put the car on the track and point to where it should drive in various different positions. You do that about 50 times, train for 5 minutes, and then it can drive itself. On JetBot, this involves using a joystick to point to a path. On JetRacer, you just click on the spot it should drive to (no joystick required).
Now, you’ve got a vehicle that can compete in a DIY Robocars race. This isn’t a good example of a proper track (my patio isn’t big enough) but it will give you a sense of how it compares to JetBot, above:
Here it is training on the beginners track at the proper DIY Robocars track at CircuitLaunch:
The standard JetRacer chassis is a 1/18th-scale Latrax model, which has a 7″ wheelbase. That’s plenty fast for me (and it qualifies for the “Stock” DIY Robocars category), but if you want to go even faster, they support a 1/10th scale version based on the Tamya chassis, which I think can compete with the fastest cars we have.
A final note on the Jupyter notebooks Nvidia supplies for road training. They’re good, but confusing. The process goes like this:
- Gather data by recording 50 images or so, with human suggestions on where to steer for each
- Train with those images
- Check your trained model with some live video from the car on the track, to see if the blue dot (“steering target”) is pointing to the right place to drive to
- Run it live on the car, tuning various parameters for the best performance
Right now, those four steps are combined into two Jupyter notebooks, which is both confusing and tends to bog each down with unnecessary processes running in the background. My advice to the Nividia team would be to split them up a bit more. #1 above should be one notebook. #3 should be another, and #4 should also be a stand-alone, with interactive sliders that work in real-time to adjust driving parameters, exactly as JetBot does.
So, in summary, JetBot is easy to use but slow. JetRacer is fast, but hard to use. Memo to Nvida: Combine the best of the two and you’ll have a winner!
Your post are not going to waste. I am very appreciative of the detail and guidance!
Thanks!
Hello, Thanks for your information. I am wondering where I can find road following example? Thanks.
It’s here: https://github.com/NVIDIA-AI-IOT/jetracer/tree/master/notebooks
I’m wondering if you had issues with setting up the joystick on the Waveshare version of the Jetbot, and how you resolved those problems if you did
thx how to reduce the speed or acceleration of jetracer ? it’s too fast !!
There is a code of collision avoidance for a JetRacer.