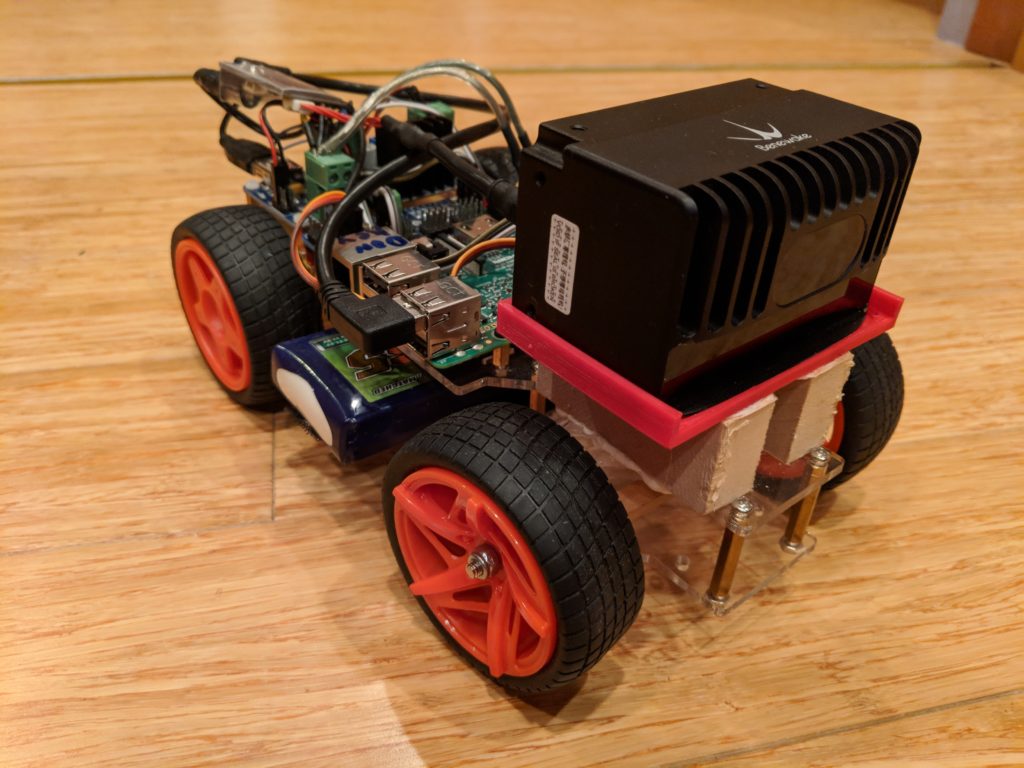
Using a cheaper motor driver with the Minimum Rover

If you want to use a cheaper motor driver board ($7) for the OpenMV-based “Minimum Rover“, here’s how to hook it up:

You’ll need some female-to-female hookup wires ($6).

First, plug four wires into the OpenMV’s GND, VIN, P7 and P8 pins as shown

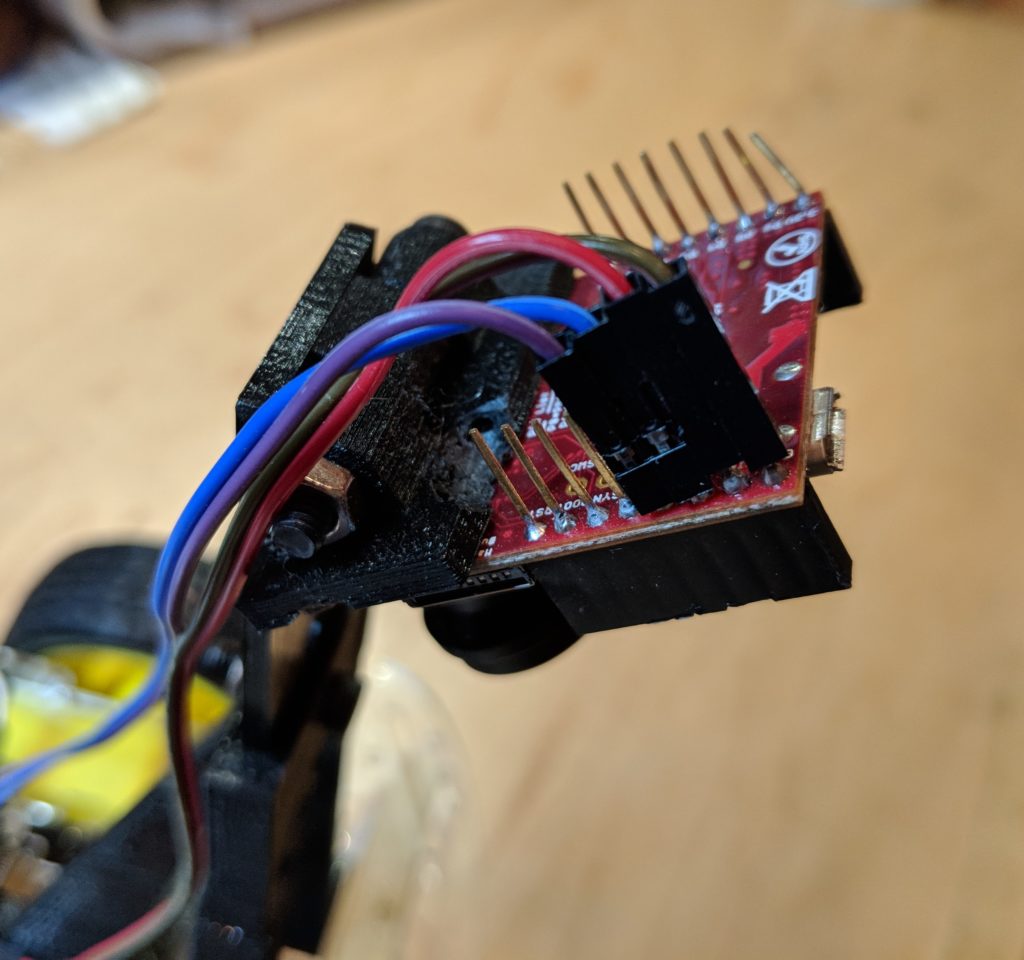
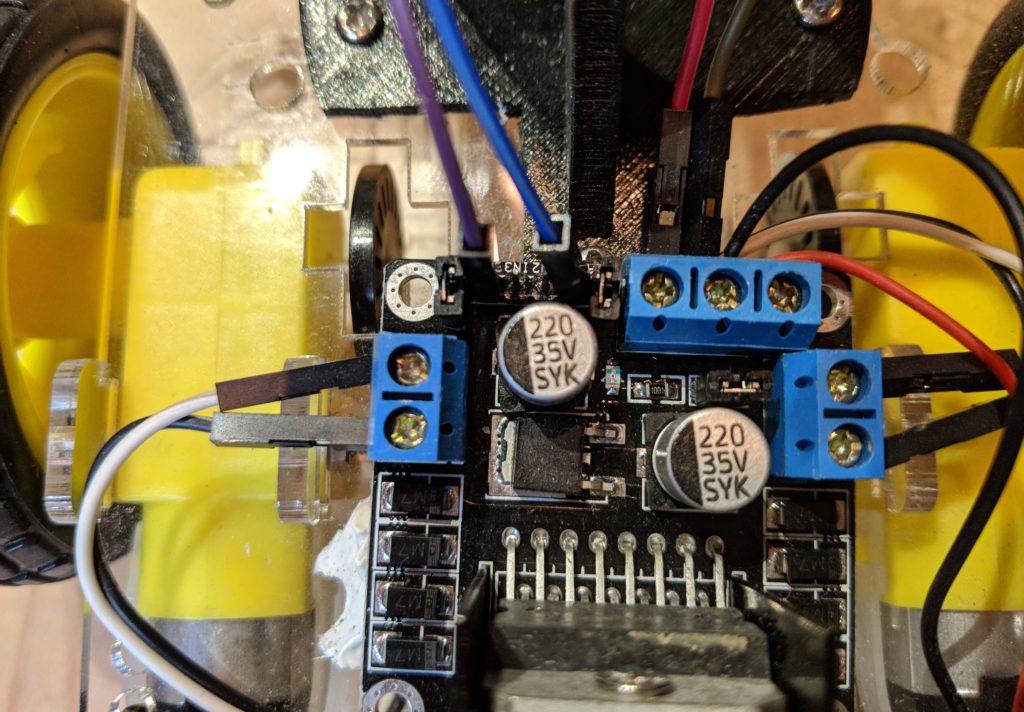
Then connect those four wires to the motor controllers as shown in the picture below:

  • P7 goes in In1
  • P8 goes to In4
  • GND goes to GND
  • VIN goes to +5V

Then connect the motor wires to the terminals on each side of the motor controller, right motor wires to right side terminals, and left side motor wires to left side terminals, as shown. The wires from the battery go to the GND and 12V terminals (cut off the connector and put the bare wire in the terminal and screw it down).


The code requires no modification to use this motor controller. It should work exactly the same as the OpenMV motor controller shield.


Demo of Benwake CE30-A on a DIY Robocar

After my first hands-on experiments with the new Benwake CE30-A solid state LIDAR (the version that generate an obstacle position rather than a point cloud), I thought I’d see if it was sufficient to drive a car through an obstacle field. It is. Above is my first effort at doing that, using a commonly-available Sunfounder RaspberryPi-based robocar.

My RaspberryPi Python code is here.

A few lessons:

  1. You can run the Benwake CE30-A with the same 7.4v battery pack that you would use to drive the car. (It says it wants 12v but it works fine with less than that).
  2. If you want to create a shorter cable. the connectors used by the CAN-to-USB converter board are JST-GH 1.25mm 4-pin connectors. You can buy them here.
  3. You can 3D print a mount for the LIDAR. I’ve posted a 3D-printable file here.  Just raise it above the steering servo with some blocks of wood as shown here: